Walkthrough
Sending Transactions
You can find a video tutorial on how to send transactions with Pelagus on the Quai Network Twitter.
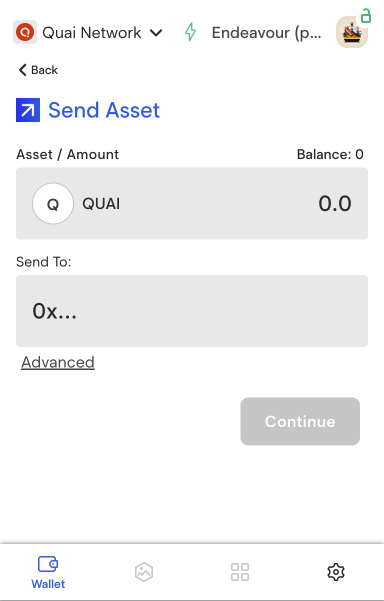
Pelagus Wallet makes it easy to send transactions to and from any shard within Quai Network. Simply click the Send button below your account balance to open the transaction send page.
You can paste an address from any shard in the "Send To" field and Pelagus will handle the rest.
Creating New Accounts
You can find a video tutorial on how to create a new account on the Quai Network Twitter.
Quai Network is a multichain network, meaning that each account within Pelagus corresponds to a specific shard or chain within the network. When creating a new account, you'll need to select the shard/chain you'd like to create the account on.
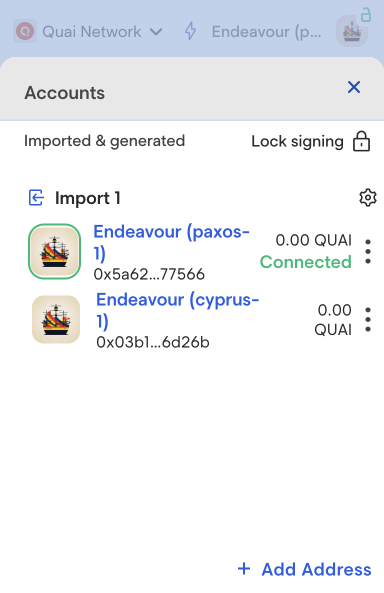
Click on the Accounts tab in the top right of the extension to open the accounts page. Then, click the Add Address button to create a new account.
Then, select a shard from the dropdown and click Confirm.
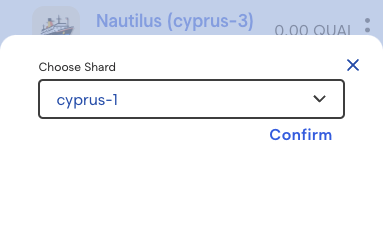
Your new account should now be visible in the accounts page.
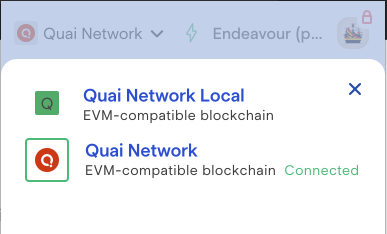
Network Selection
Pelagus Wallet supports both the Iron Age test network and local environments. Click the network drop down in the top right of the extension to select the network you'd like to use.